
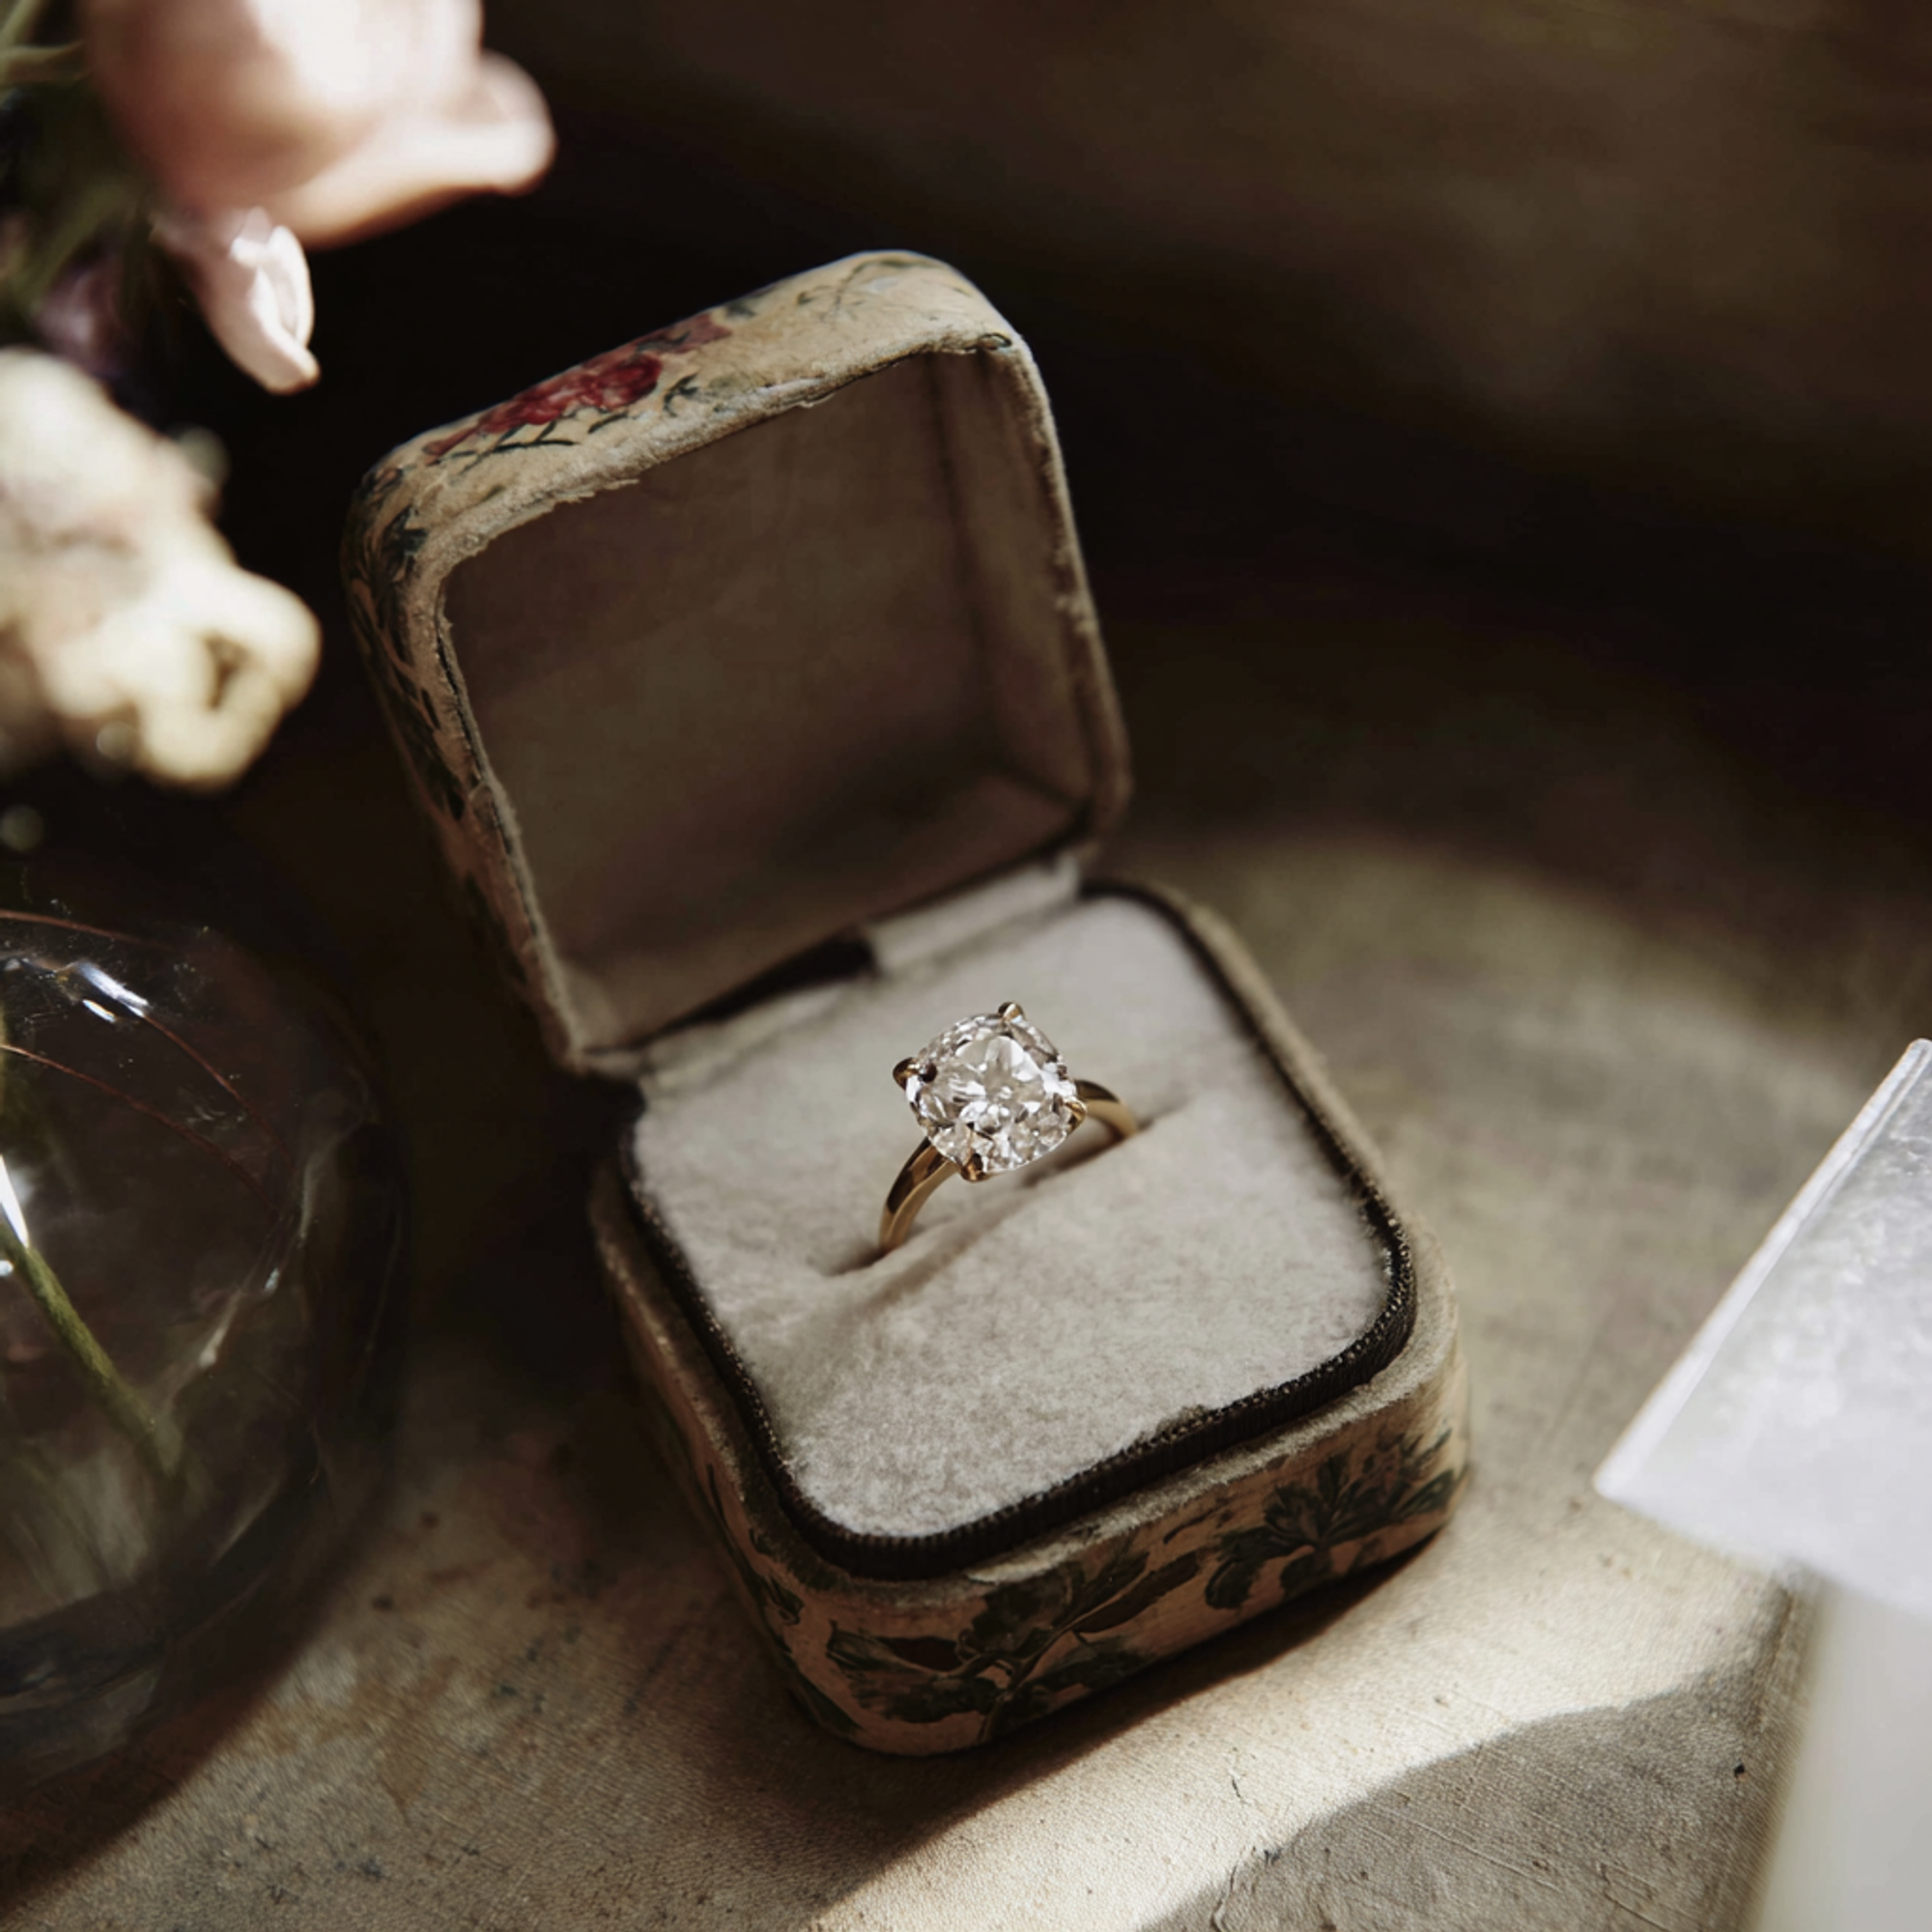
This lesson explains how sketches and CADs are used in a custom ring project, and why both stages matter before any ring is made
Why this matters
A sketch and a CAD are not the same thing. In jewellery design, sketches are used to explore
Lesson context
Why this matters
This is the prompt is can be quite a lot of text so what do you think about this.
Here is the guidance section it is where i will guide you through all the things that you need to know
ideas, shape, texture and overall style, while CAD is computer-aided design: a 3D digital model that can be viewed, altered and prepared for manufacture.[1,2]
That difference matters because a pretty drawing is not automatically a practical ring. GIA’s jewellery design and technology teaching treats CAD as more than illustration: the model has to work to engineering specifications and within real limits such as cost, size, style, manufacturing method, durability and comfort.[3,4]
Learning goals
- Know the difference between a sketch and a CAD
- Understand what each stage helps a customer decide
- Recognise why a CAD must be engineered, not just attractive
- Know what details to check before approving a design
Key ideas
Sketches start the design conversation
A sketch is usually the first clear version of the idea. GIA’s jewellery design course teaches drafting, shading and the illustration of shape, form and texture, which shows the real purpose of sketches: they help communicate the look and feel of the ring before anyone commits to manufacture.[1]
In practice, a sketch is good for discussing the overall silhouette, the type of setting, the width of the band, and the style of details such as a halo, claw shape or shoulder design. It is usually the fastest stage for broad changes because the idea is still flexible.[1,2]
CAD turns the idea into a measurable 3D model
GIA explains that CAD lets designers create 3D virtual models that can be rotated, examined from any angle, built up, cut away and even weighed before they are constructed. It also allows changes to be made and saved more easily than with one-off hand drawings.[2]
This is why CAD is so useful in custom rings. It helps show the ring from the top, side and profile views, and it gives the maker a much clearer sense of proportions, stone placement and structure before production starts.[2,3]
A render is a preview, not the finished ring
CAD software can produce photorealistic renderings, and GIA teaches both render creation and prototyping with CAM tools such as 3D printers.[2,3] That means the CAD stage is excellent for previewing the design, but the finished ring still has to go through real manufacturing steps and real bench work.[2,3]
So a customer should treat a CAD image as a design guide, not as a perfect promise of the final look. Small differences can appear once a ring is cast, polished, set and finished, especially in details such as edge softness, metal weight and the visual effect of the final stone setting. That is an inference from GIA’s emphasis on engineering specifications, manufacturing challenges and later production steps.[2,3]
What to check before approving a CAD
Before saying yes, check the details that are hardest to change later. These usually include band width, ring depth, head height, stone size, stone shape, claw style, whether a wedding band should sit flush, and whether the design looks comfortable for everyday wear. GIA’s design and CAD teaching specifically links digital modelling with scale, proportion, engineering and comfort, so these are not minor details.[3]
Key terms
- Sketch — an early drawing used to explore the design
- CAD — computer-aided design, a 3D digital model
- CAM — computer-aided manufacturing, used to help make the piece
- Rendering — a realistic digital image of the design
- Prototype — a test model made before the final piece
- Engineering specifications — the practical measurements and rules needed to make the ring work well